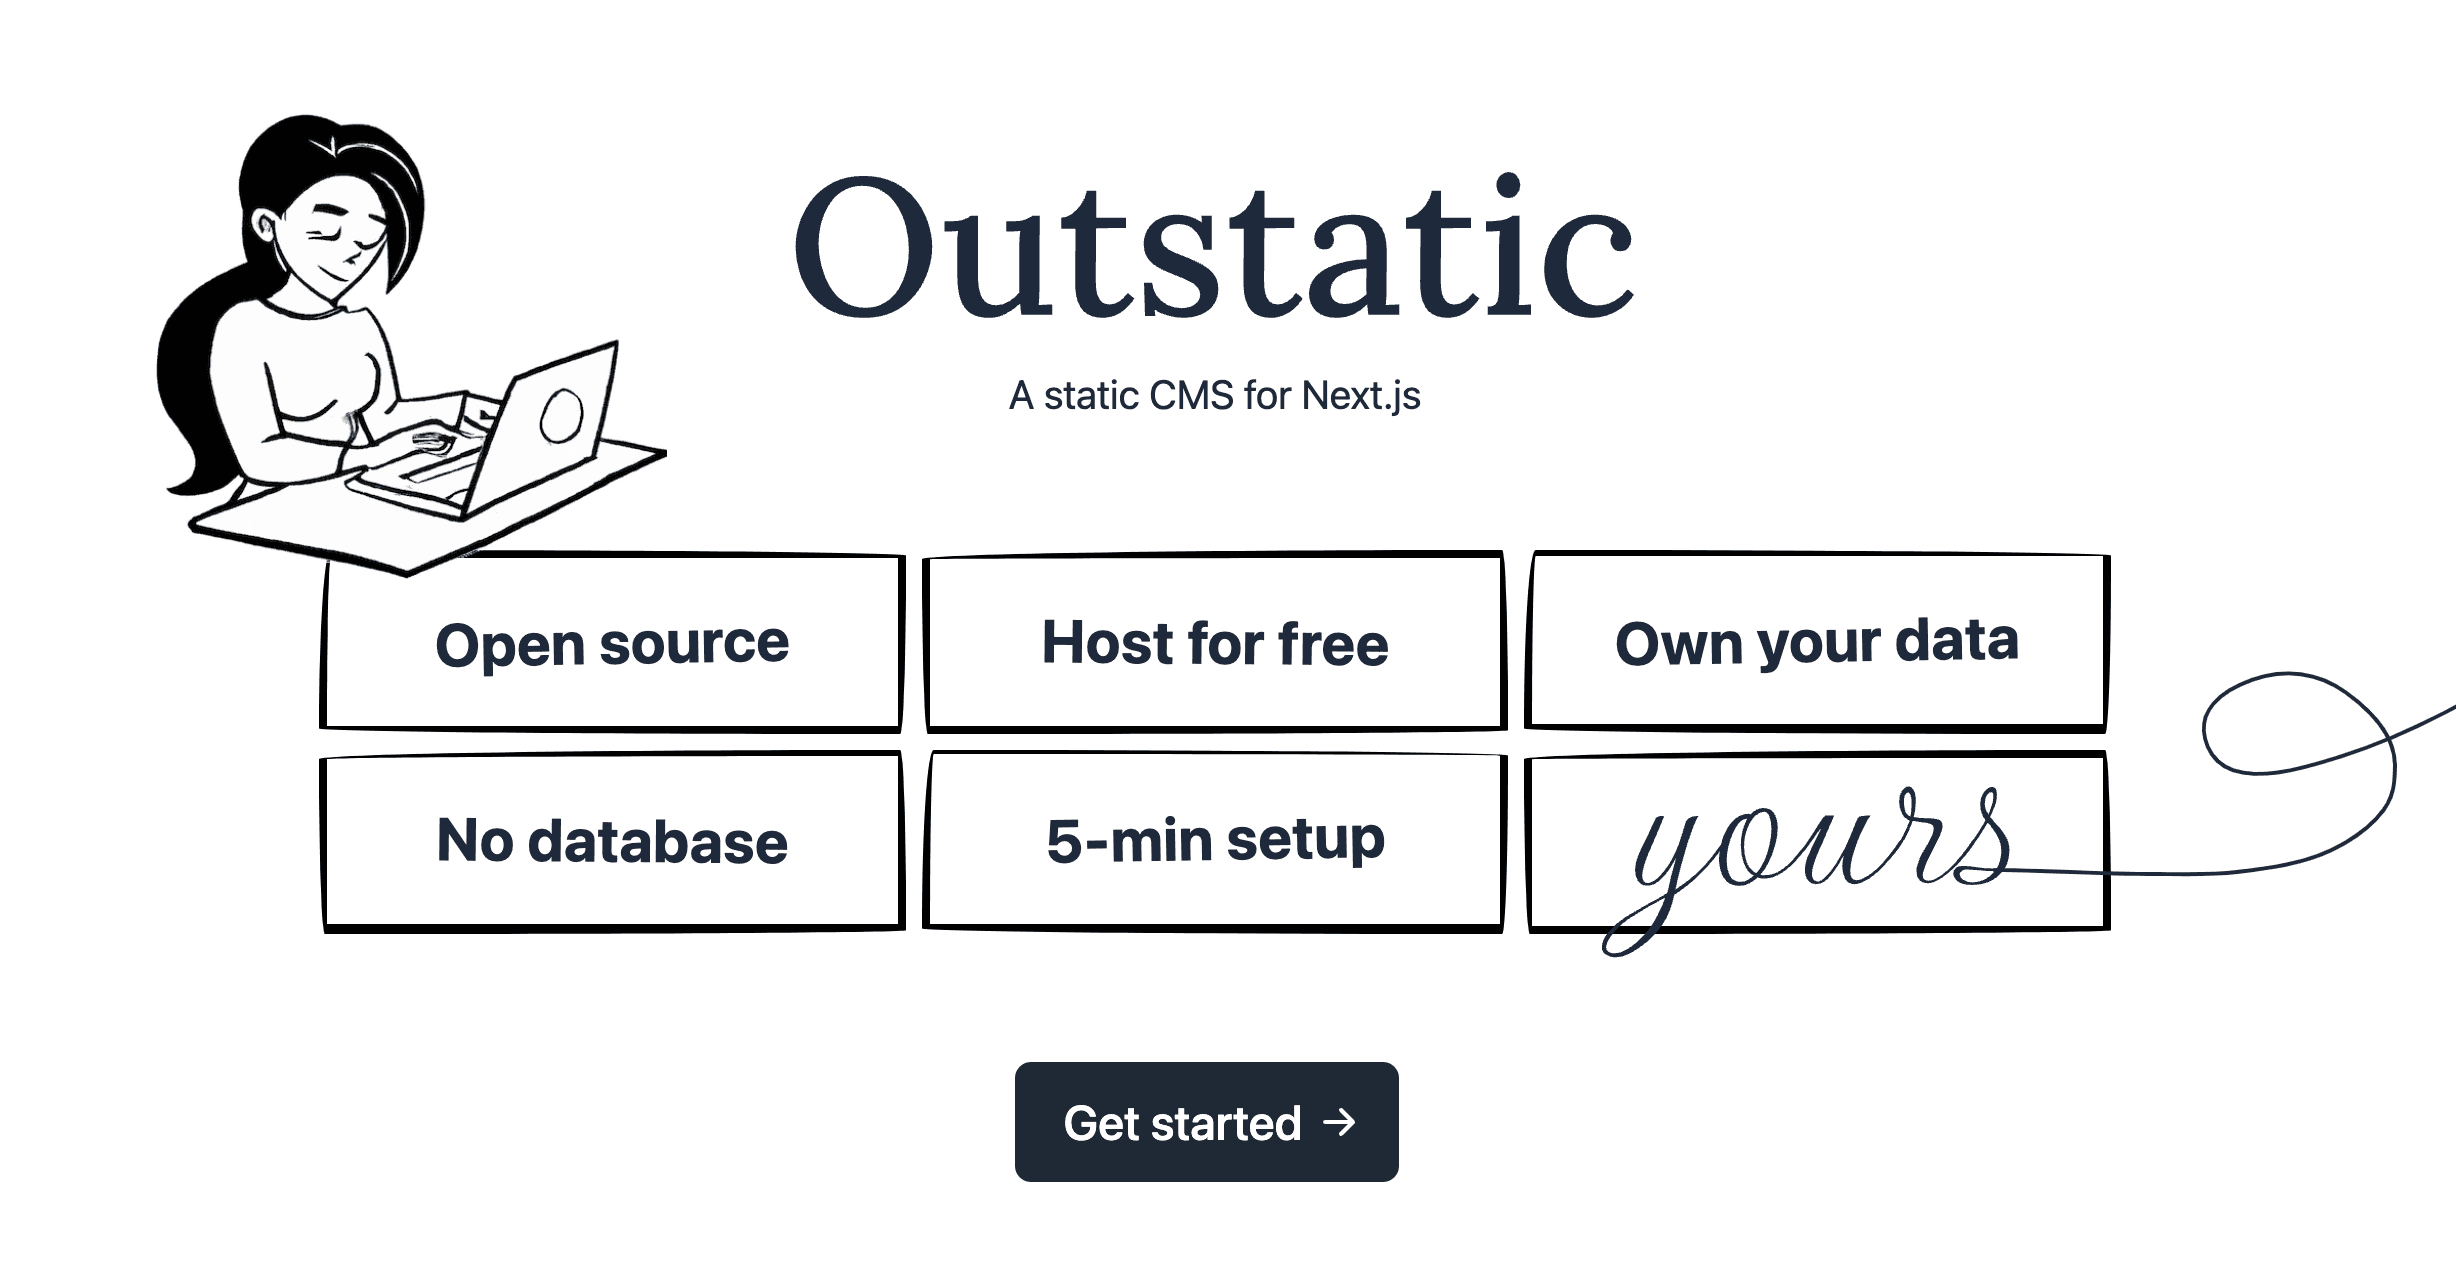
Add a free CMS to your Next.js website with Outstatic
In this blog post, we will explore the step-by-step process of integrating Outstatic into a Next.js website, allowing for efficient content management and improved performance. The installation should take less than 10 minutes.
Requirements: A Next.js 13+ website and a GitHub Account.
Setting up a GitHub OAuth Application:
Let’s walk through the steps to create a GitHub OAuth Application, this is needed for authentication:
-
First go to the "Register a new OAuth application" page on GitHub by clicking here.
-
App name: This could be My Blog or anything you want.
-
Homepage URL:
http://localhost:3000/. -
Authorization callback URL:
http://localhost:3000/api/outstatic/callback -
You can leave the Application description field empty.
Click on Register application. You'll be redirected to your GitHub Oauth App settings page.
Next, click on Generate a new client secret. Once done, keep this tab open. We'll need these values for our next steps.
Install Outstatic
First install the Outstatic package and dependencies:
# npm
npm install outstatic

# yarn
yarn add outstatic

# pnpm
pnpm install outstatic
You will need to create two files in your Next.js /app folder. They have a very similar structure, but notice that the first one is under /app while the second under /app/api:
/app/outstatic/[[...ost]]/page.tsx/app/api/outstatic/[[...ost]]/route.ts
Copy the following contents to the page.tsx file:
import 'outstatic/outstatic.css'
import { Outstatic } from 'outstatic'
import { OstClient } from 'outstatic/client'

export default async function Page({ params }: { params: { ost: string[] } }) {
  const ostData = await Outstatic()
  return <OstClient ostData={ostData} params={params} />
}
And for the route.ts:
import { OutstaticApi } from 'outstatic'
export const GET = OutstaticApi.GET
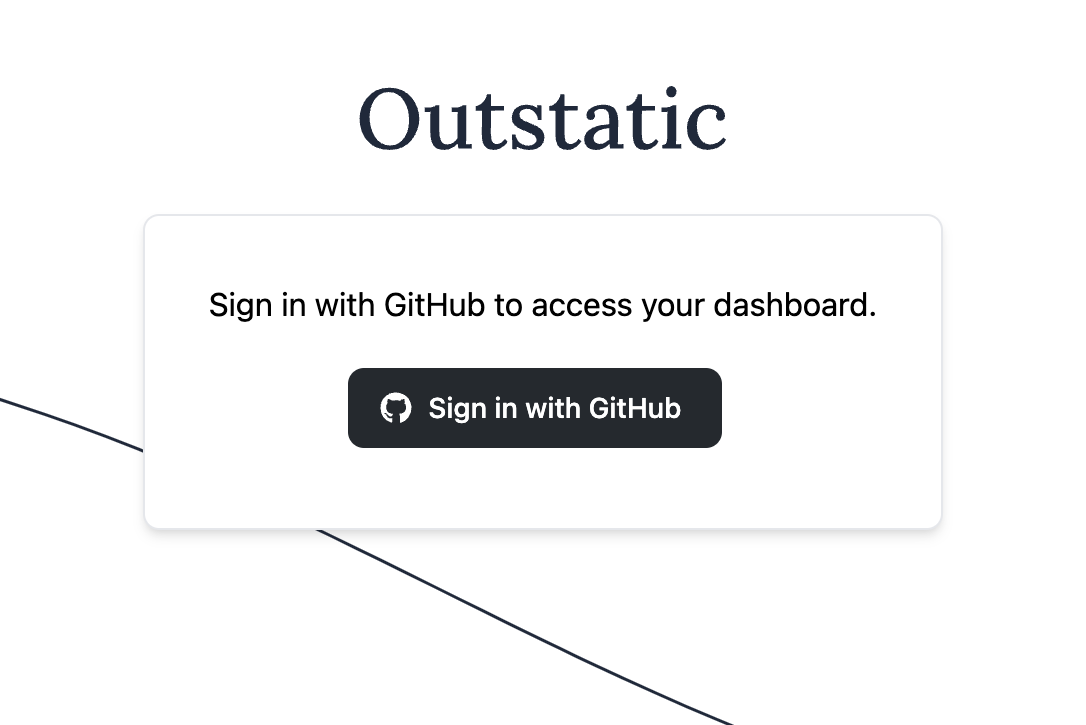
export const POST = OutstaticApi.POSTStart your dev server. Assuming you're on http://localhost:3000 you can access your dashboard at https://localhost:3000/outstatic.
You should see this page:

Setting up the Environment Variables
You will need to add the following variables to your .env file.
OST_GITHUB_ID=YOUR_GITHUB_OAUTH_APP_ID
OST_GITHUB_SECRET=YOUR_GITHUB_OAUTH_APP_SECRET
# random string min 32 chars
OST_TOKEN_SECRET=A_RANDOM_TOKEN
OST_REPO_SLUG=YOUR_GITHUB_REPOSITORY_SLUG

# OPTIONAL
# If empty this will default to main
OST_REPO_BRANCH=YOUR_GITHUB_REPOSITORY_BRANCH
Restart your service and reload the /outstatic page.
If everything is setup correctly, then you'll see a login page and will be able to access your Dashboard.
Now that you have completed the installation and setup process of Outstatic, you can start creating content for your website.
For more information on managing your website's content and fetching data from Outstatic, please refer to the Outstatic documentation.
If you have any questions or need assistance, you can join the GitHub or Discord community. Enjoy using Outstatic!